| Tamiya's JGTC Skylines | |
|
It's no surprise Tamiya model so many
of the Japanese Grand Touring Cars, as the series is massive in Japan.
In England we hear little of it, but it doesn't make the models any less
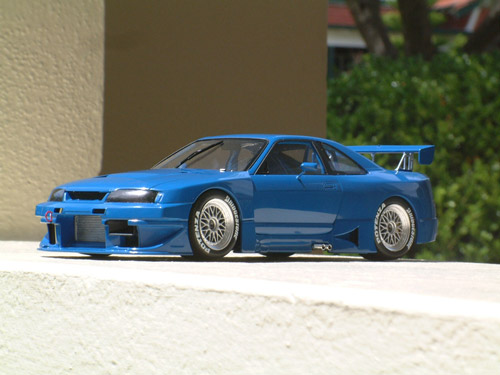
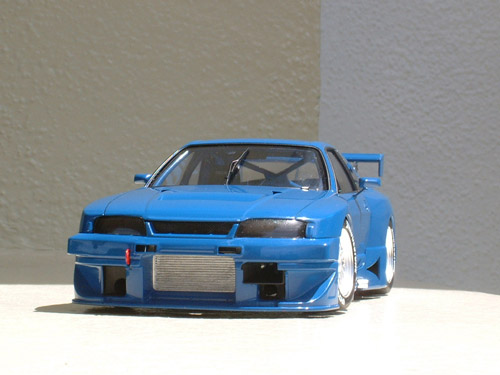
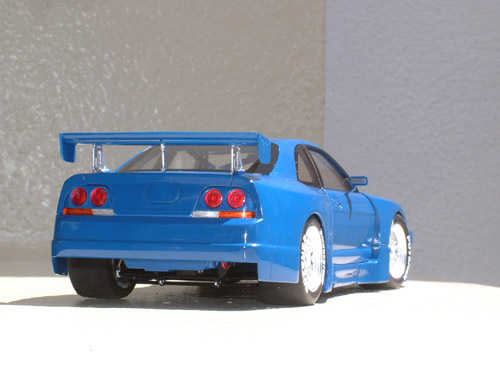
desirable and they are the meanest looking cars in my collection! I want to collect the evolution of the race cars through R32-R34 body shapes and beyond, but also have kits depicting the various race tuners. I started with two R33s. Both these kits were built around the same time as I took them to Australia to keep me occupied on those rainy evenings! ;-) 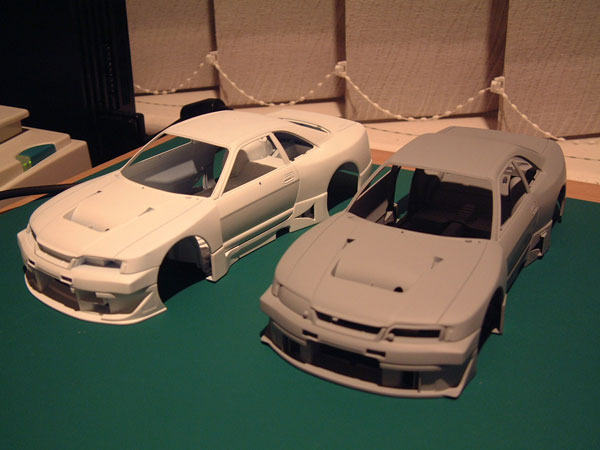 Both kits were prepped and primed as usual, using plastic primer in grey and white. Be careful to follow the instructions properly, as the Calsonic car needs the roof aerial mount removing, as well as the indicator lenses on the nose cone. Both of these I failed to notice! With the Kure car I drilled a hole through the aerial hole and filed off the dimple, preferring to use an aftermarket aerial as it is easier to polish the roof without a big lump there! The bodies were then sprayed Rover Tahiti Blue and Ford Panther Black respectively. The Rover Blue was the closest I could get from my regular source and is a close representation! Ford Panther Black is perfect for the Kure car! 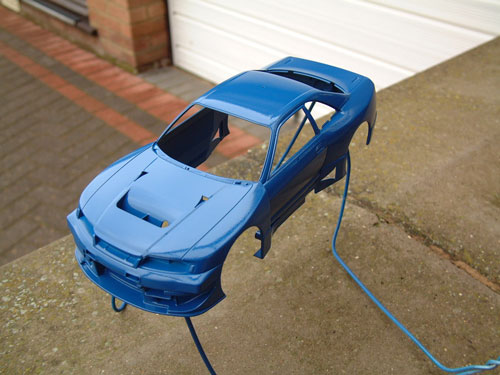 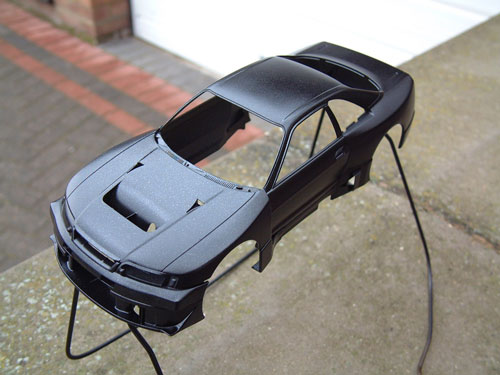 The decals went on the Kure car without incident and after a weeks drying time the body was cut back and polished. I found the best results when I left the lacquer quite thick over the decal areas of the body, i.e. didn't polish too deeply. The Calsonic car was polished and built before the decals were placed, and no lacquer used. The chassis' were built as per the instructions, and the 'sit' or stances are spot on. The rear diffuser on the Kure car was covered in Carbon decal and the interior floor painted black where required. The Kure car is blessed with the bigger wing of the two, and looks all the better for it. I couldn't find any pictures of the rear for these cars which revealed the colour of the indicator lenses, so I opted to go orange like the instructions said. They are clear on the road car. 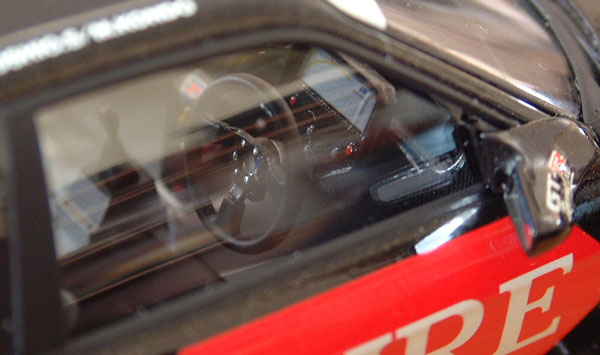 All
ancillaries went on without hitch, only the mirrors on both cars
requiring careful placement. The rear window bars, intakes and ducts
were covered in Carbon Fibre on the Kure car, as was the console and
data logger inside the cockpit. Normally I would add wiring and detail,
but being on holiday meant these parts were unavailable. I want to add
the racing harness when I get back home though, a necessity in my view. All
ancillaries went on without hitch, only the mirrors on both cars
requiring careful placement. The rear window bars, intakes and ducts
were covered in Carbon Fibre on the Kure car, as was the console and
data logger inside the cockpit. Normally I would add wiring and detail,
but being on holiday meant these parts were unavailable. I want to add
the racing harness when I get back home though, a necessity in my view. I didn't like the way the rear quarter and rear window glass went in on the Kure car as it looked uneven at the bottom edges, and so for the Calsonic car I decided to remove the lower location tabs. The glass has no problem sitting in there and as long as you use krystal clear glue I see no point in snapping them in like Tamiya suggest. I kept the top tab in place on the side windows to help find the correct position ( I say glass, it is probably Perspex in the race car and definitely plastic on the model!) The masking and spraying of semi gloss black was then done afterwards. 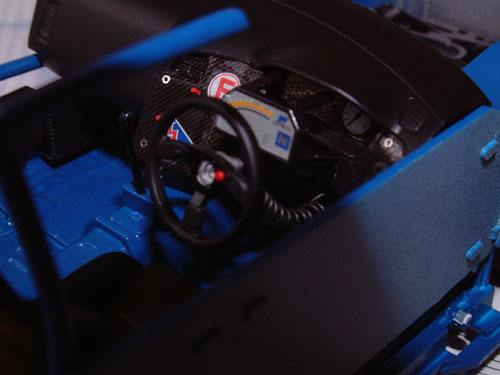 Extra
detail was also added to the cockpit of the Calsonic car, and sliced
wire used to duplicate the electrical cut out and extinguisher buttons.
I also added some bolt heads from my detail box. I also made a steering
wheel communications wire, spiralled it round a pin and glued it from
the wheel to the dash. Again, the harness will be added when I get my
hands on some! Extra
detail was also added to the cockpit of the Calsonic car, and sliced
wire used to duplicate the electrical cut out and extinguisher buttons.
I also added some bolt heads from my detail box. I also made a steering
wheel communications wire, spiralled it round a pin and glued it from
the wheel to the dash. Again, the harness will be added when I get my
hands on some!The
single wiper needed heating and bending before it would sit On the
screen of the Calsonic car in the
classic touring car pose, i.e. straight up! Notice too that the electric
cut off and extinguisher buttons are on the other side on this model! I
will make some up from the spares box.
Completed! See
Gallery! |
|
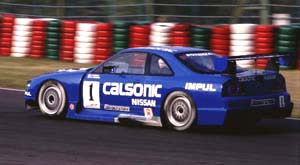
| Pictures used for research... | |
|

|